
Installing and Running XAMPP
Let’s see together how to install XAMPP and brackets to have a complete development system on your Windows, Linux or Mac OsX PC.
Windows
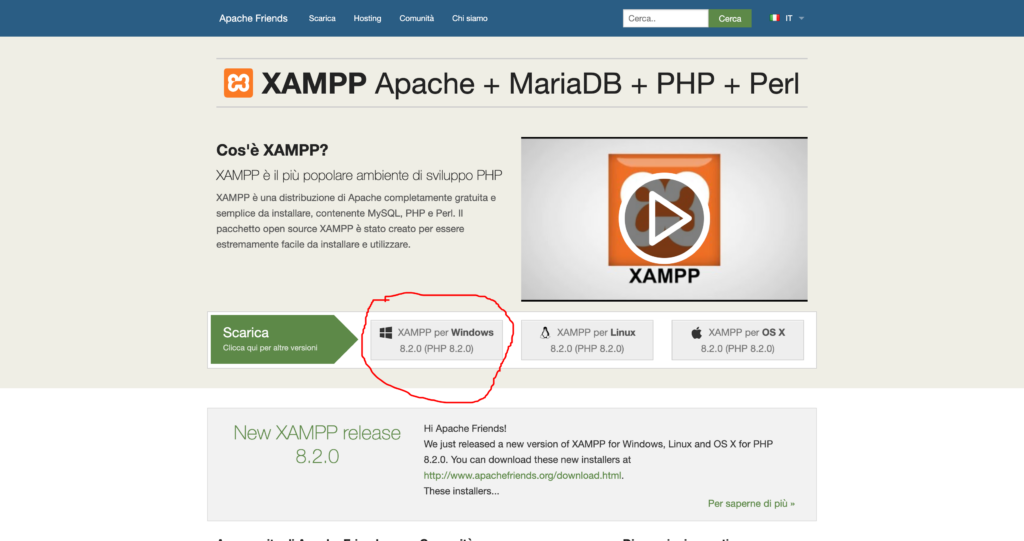
Go to https://www.apachefriends.org/index.html and click on “XAMPP for Windows”.
Wait for the file to download, then right-click the downloaded file and select “Run as administrator .” In the dialog box that opens asking if you want to disable User Account Control (UAC), click “OK.”
Follow the installation wizard and click “Next” to proceed when prompted. Select an installation folder when prompted, then make sure C://xampp is selected as the installation path. Continue clicking “Next” until the installation begins. Once the installation is complete, click “Finish.”
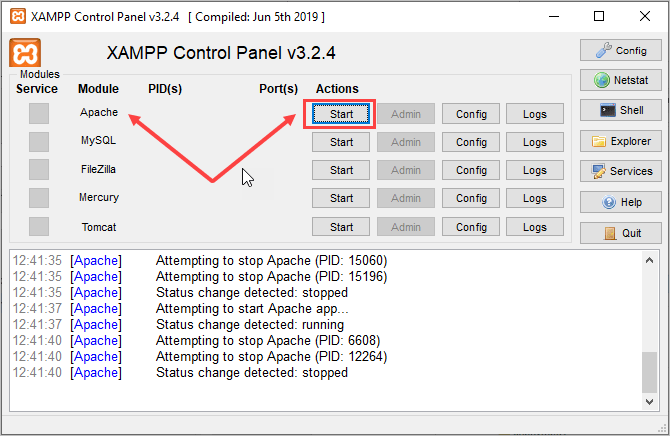
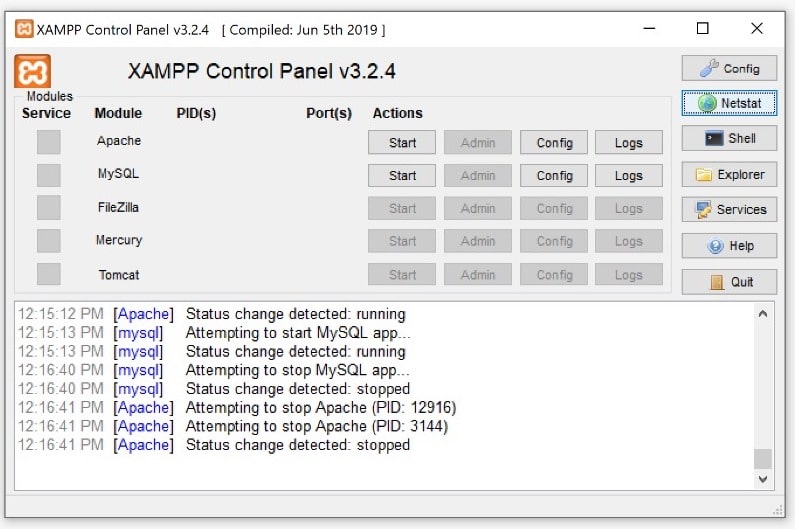
Go to the C://xampp folder and double-click the xampp-control.exe file .
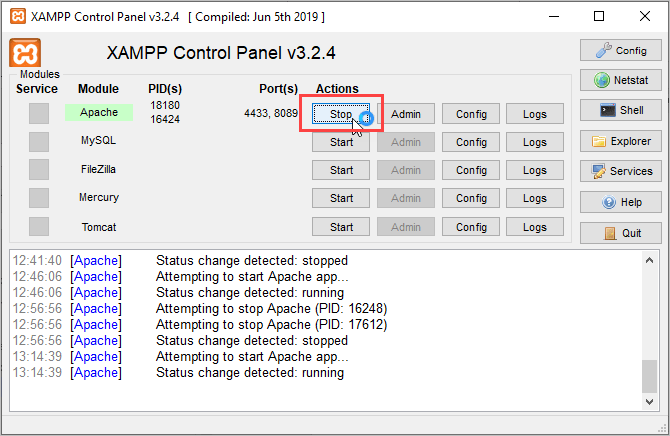
To start any module, click the Start button next to it. To stop it, click the Stop button . For example, to start/stop the Apache web server module, click the Start/Stop button next to Apache .

Mac
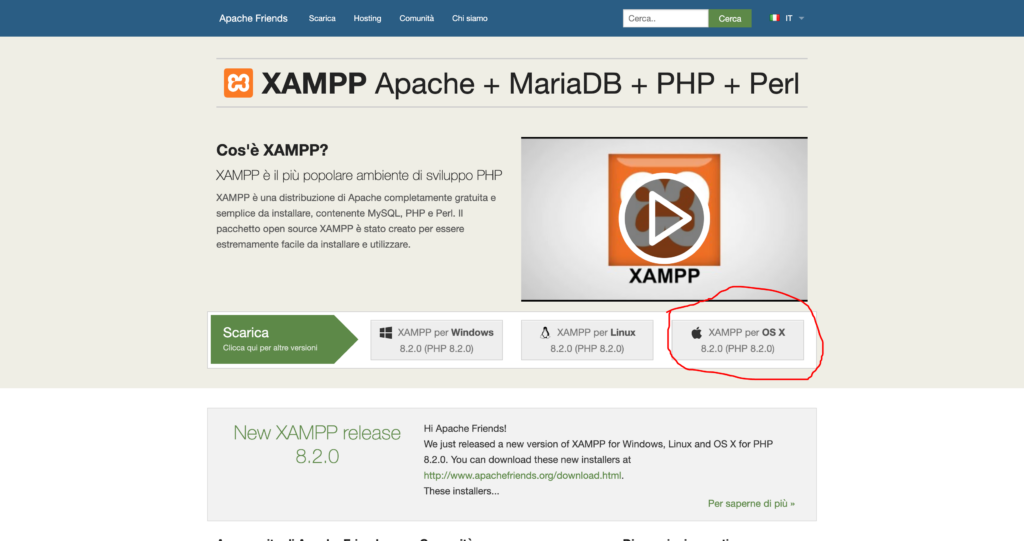
Go to https://www.apachefriends.org/index.html and click on “XAMPP for OS X”.
After downloading, double-click to run the .dmg file and depending on your Mac system version you may be asked to drag the XAMPP icon to the Applications folder or clicking on the XAMPP icon will run the installer directly.
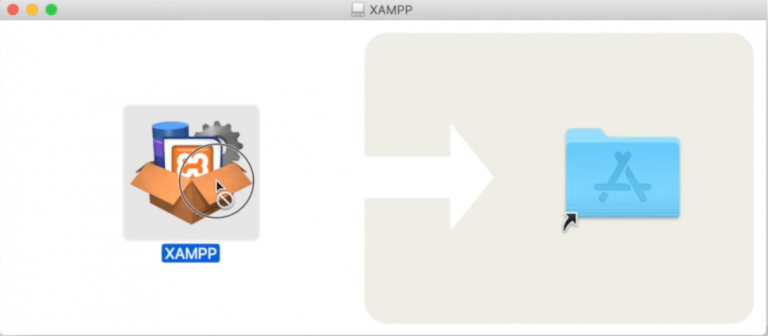
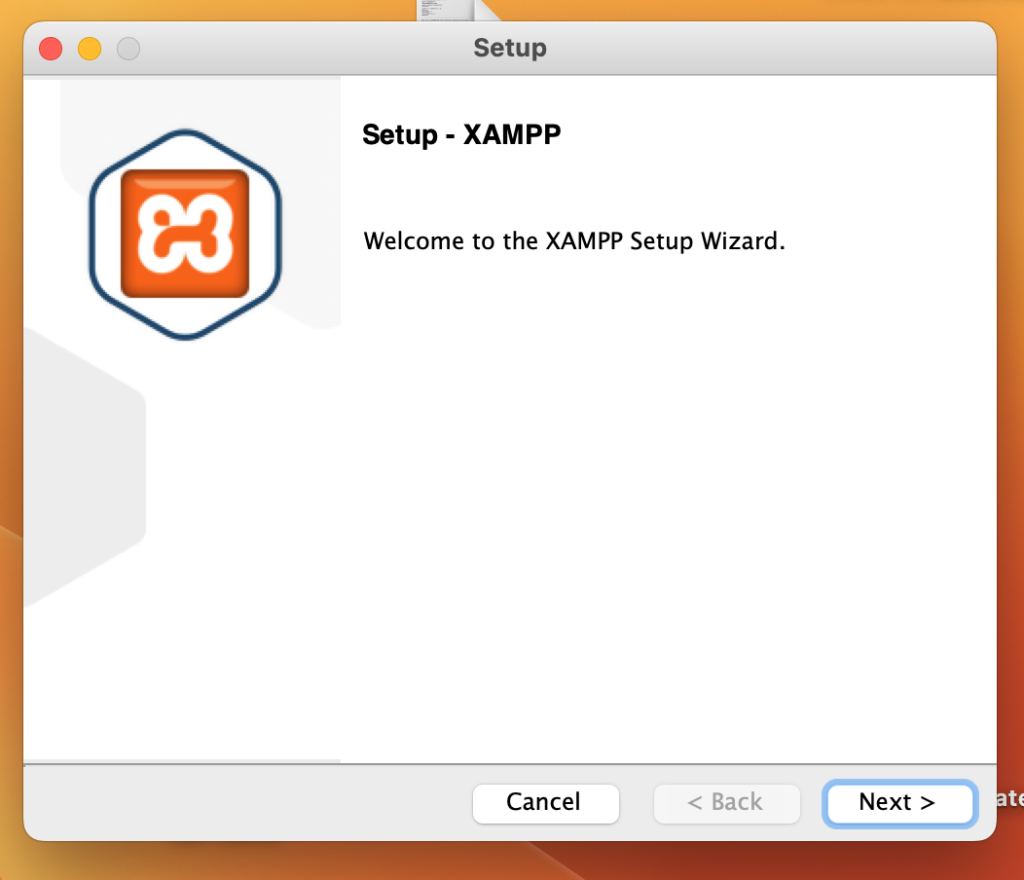
Proceed through the installer and XAMPP will be installed in your Mac’s Applications folder.
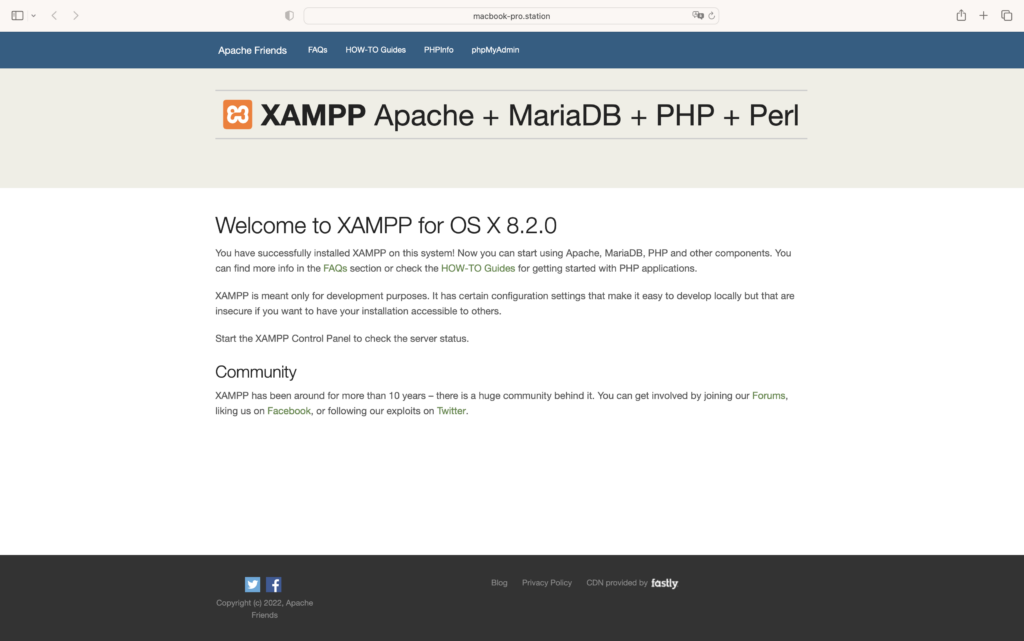
Once the installation is complete, if all went well, you should see your default browser open to the main XAMPP home page:
To verify that everything is working correctly, you need to open the manager-osx, i.e. the XAMPP control panel, and click on the “ Manage Servers ” tab. If all three server icons are green, everything is ok. Otherwise, there may be some conflict on the ports of your Mac.
In this case you need to select the server that does not have the green icon (and is therefore not active), then click on “configure” and change the port used by the service to avoid conflicts with other applications that use the same port, then restart the service until you verify that it is active and that its icon is green.
Installing brackets
To install Brackets, go to http://brackets.io/ and click the “Download Brackets” button to download the application.
Once downloaded, double-click the downloaded file to start the installation.
On Windows, continue clicking “Next” to complete the installation. When the installation is complete, click the “Finish” button.
On Mac, drag “brackets” to the Applications folder when prompted.

Running PHP scripts
Open brackets and create a new file ( File > New ) by inserting the following code into the file:
<!DOCTYPE html>
<html>
<head>
    <title>My first PHP page</title>
</head>
<body>
    <h1>My first PHP page</h1>
    <?php
        #Simple hello world page
        echo "Hello World!";
    ?>
</body>
</html>
Save the file as hello.php in your htdocs folder .
On Windows, the htdocs folder is located in the XAMPP installation directory (for example, C:\xampp ).
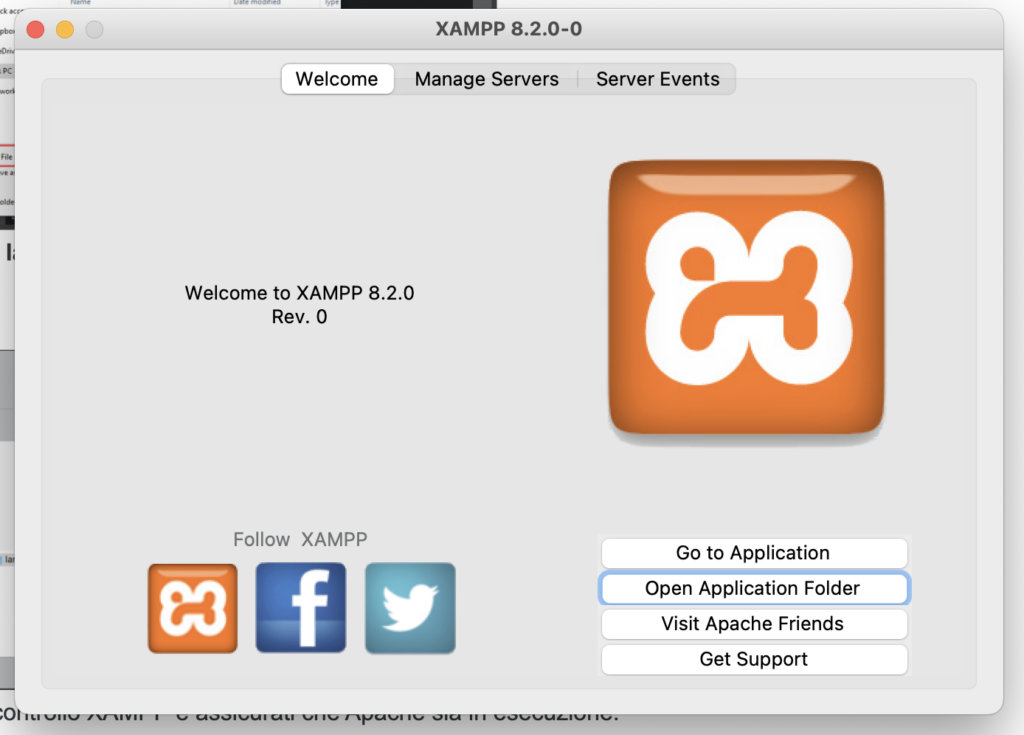
On Mac, to find the htdocs folder just open the manager-osx and click on “Open Application Folder”:
To run the file, open the XAMPP control panel and make sure Apache is running.
On both Windows and Mac, you can type http://localhost/hello.php in your browser’s address bar. ( Note : If Apache is running on a different port , you’ll also need to add the port number to the URL. For example, type http://localhost:8089/hello.php if you’re using port 8089.)
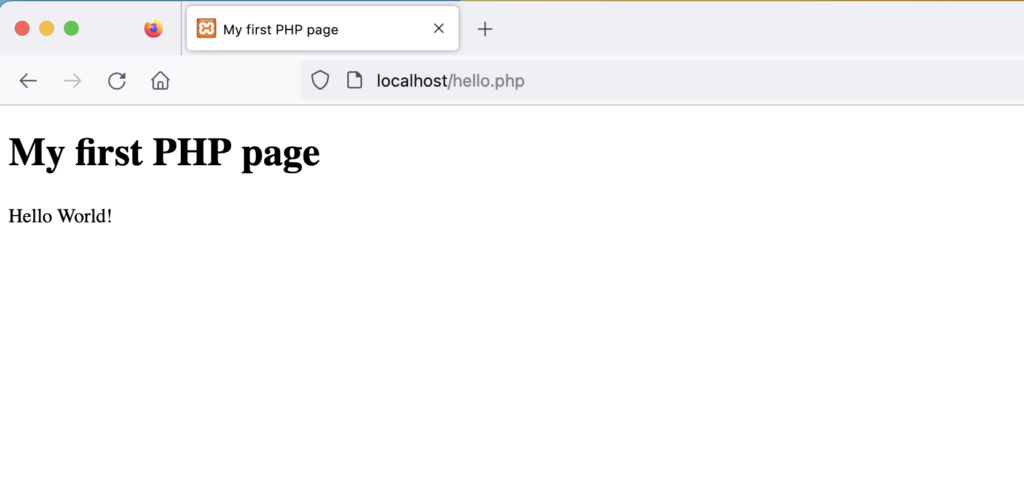
You should see the following output:
If you are having problems starting Apache or MySQL in XAMPP, it is likely due to a port conflict.
Resolving port conflicts on Windows
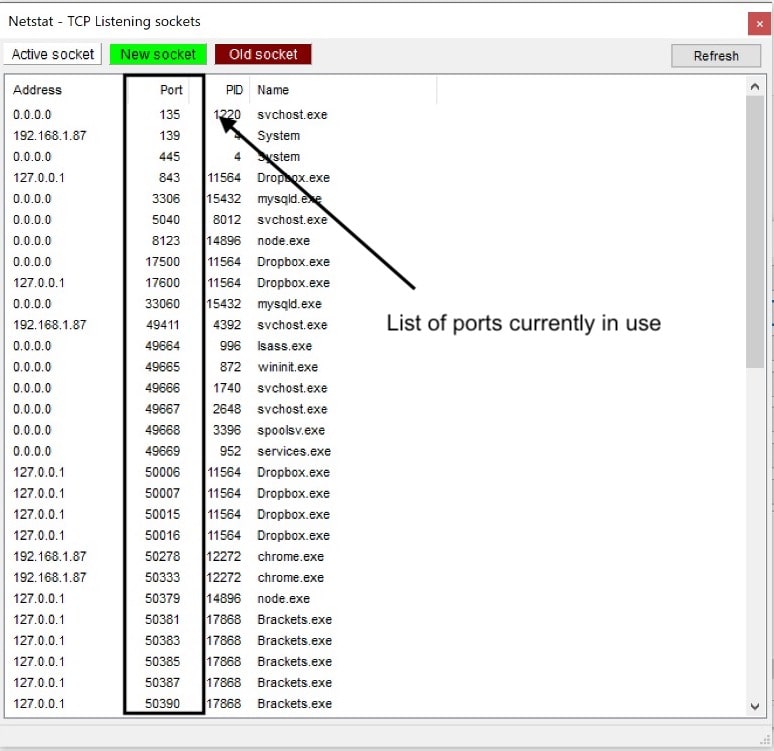
When you install XAMPP, Apache binds to ports 80 and 443 by default, while MySQL binds to port 3306. If these ports are currently in use by another service or application, you will receive an error message (see the screenshot below) when you try to start the service.

To see which ports are currently being used by another application, click “Netstat” in the XAMPP control panel:
Resolving port conflicts on Apache
To resolve any port conflicts for Apache, choose a port that isn’t currently in use. In the following tutorial, we’ll use ports 8089 and 4433.
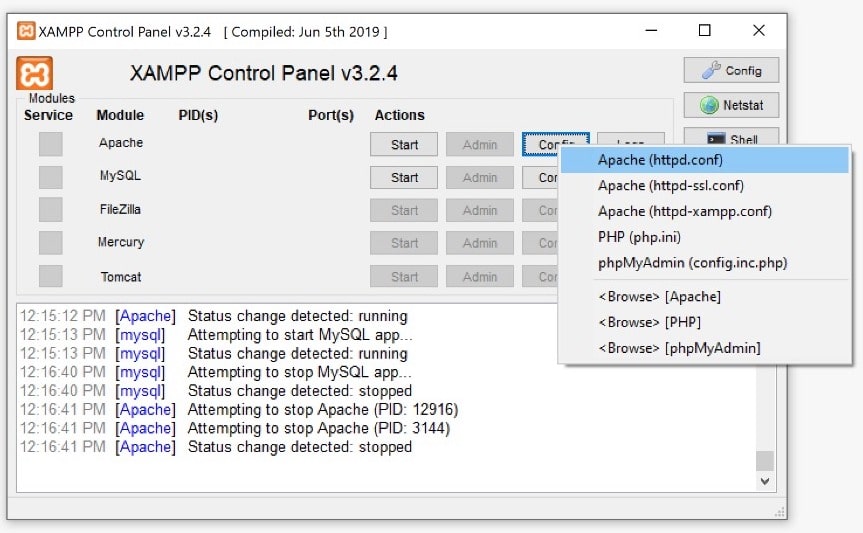
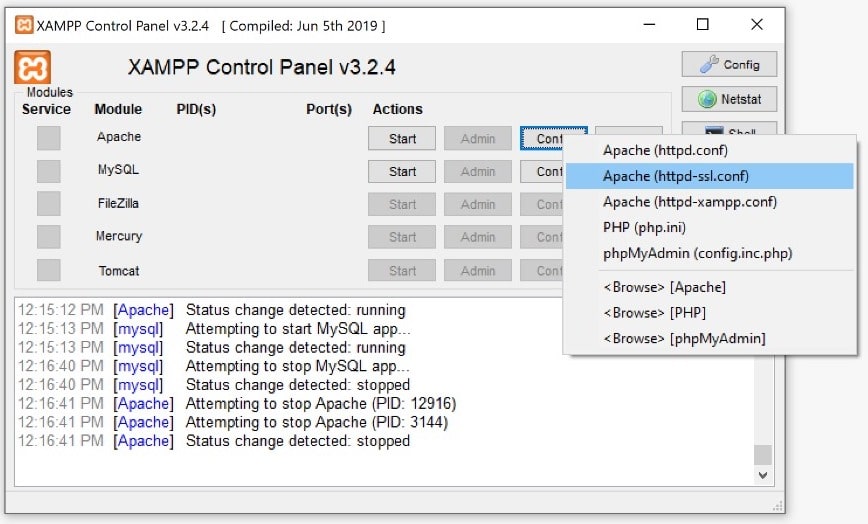
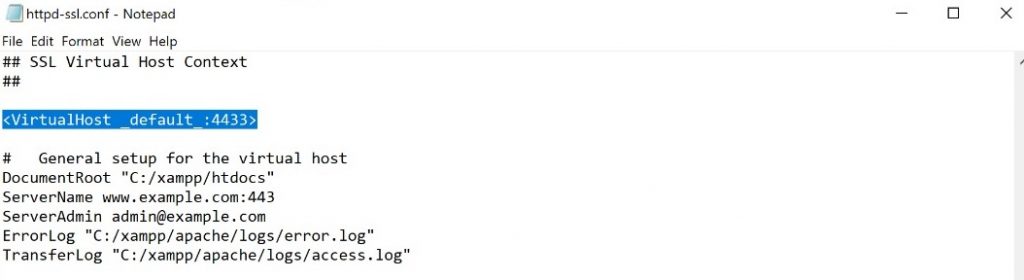
Launch the XAMPP control panel and click the Apache>Config button . Next, select Apache (httpd-conf) and look for Listen 80 . Change it to Listen 8089 . Finally, look for ServerName localhost:80 and change it to ServerName localhost:8089 .

To upload any localhost file now, use http://localhost:8089/ instead of http://localhost/
Resolving port conflicts for MySQL
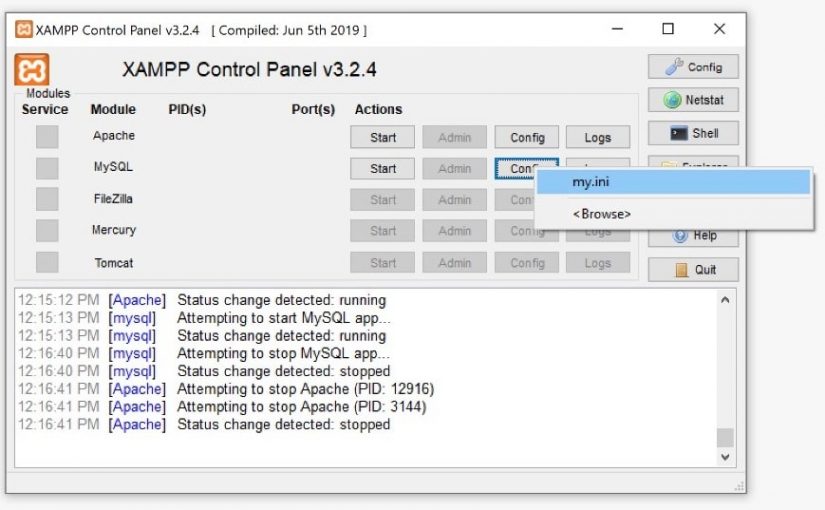
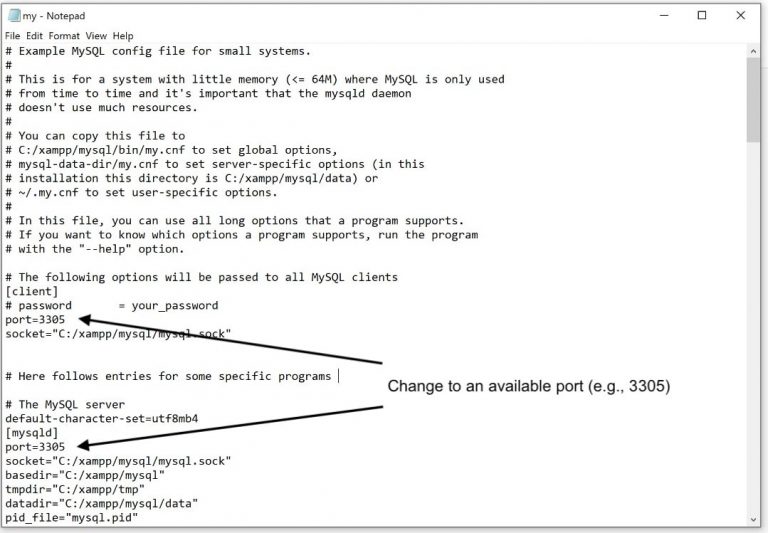
First, launch XAMPP Control Panel and click MySQL > Config . Select my.ini . Change port = 3306 to port = 3305.
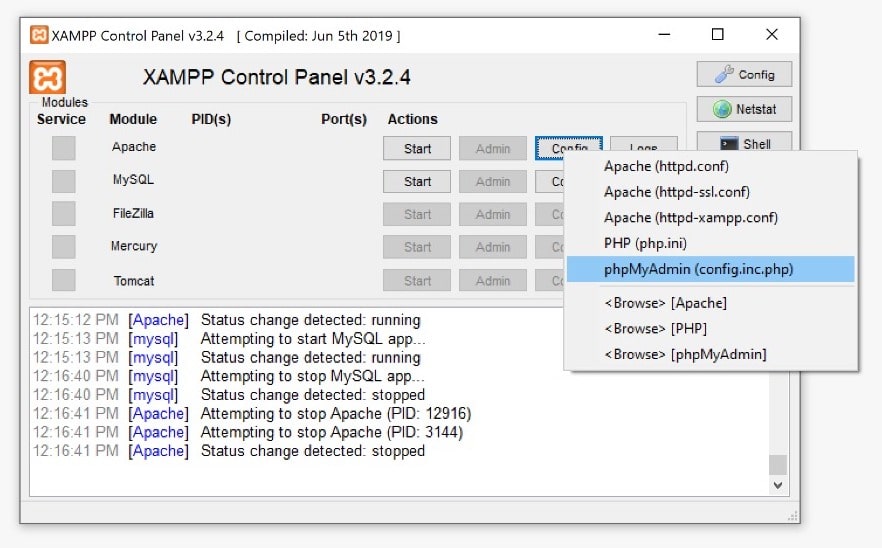
Save the file. Next, click
Apache > Config and select
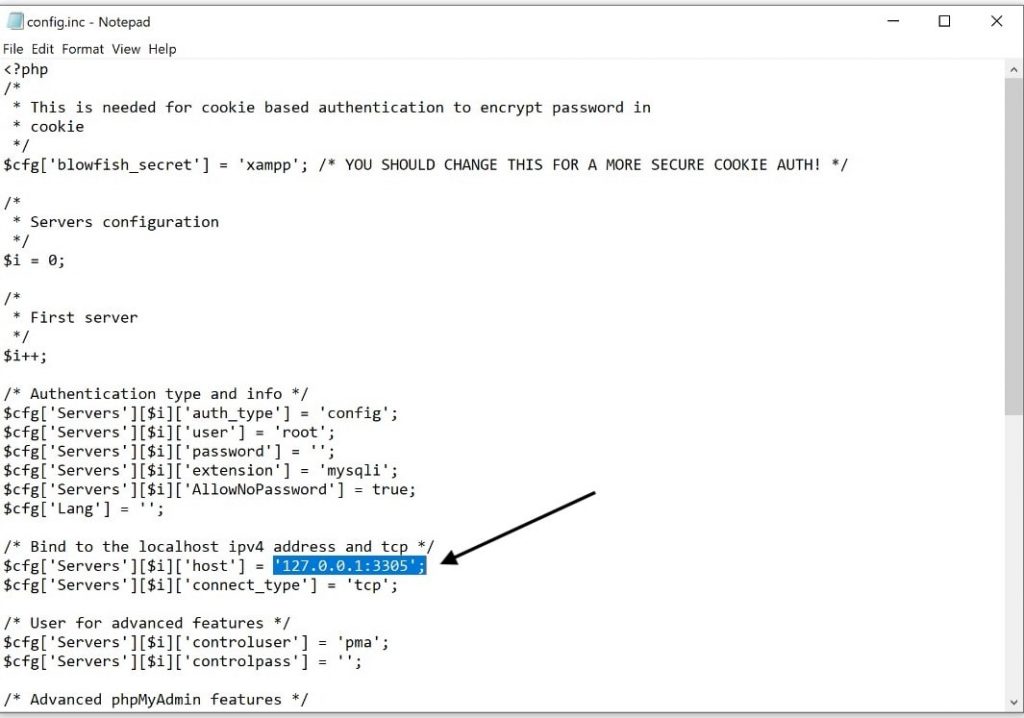
config.inc.php . Change
127.0.0.1 to
127.0.0.1:3305 and save the file.
Restart MySQL and you should have no problem starting the service now.
To connect to the database, the host is now localhost:3305 instead of just localhost. For example, to use PDO to connect to a database called “pawszone” with “pz_admin” and “ABCD” as the username and password, respectively, use the following code:
$pdo = new PDO("mysql:host=localhost:3305;dbname=pawszone", "pz_admin", "ABCD");